
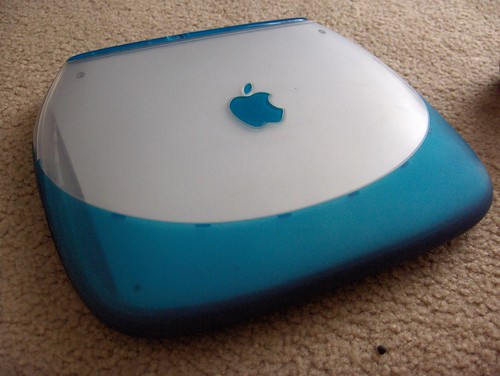
I love my G3 iBook. I bought it right before my Route 66 trip because (a) I was nervous about taking my then-new G4 and (b) the thing is built for road-warriors and students. It's the toughest laptop I've ever seen, and I knew if I took it all the way across the country, it would survive in a pinch.
And it did, both on the Route trip and the Seattle trip. But one drawback was its lack of wireless connectivity. I underestimated the number of hotels - even run-down ones - that have wireless internet these days. One night, in Needles, California, I drove to three different hotels looking for an ethernet connection, never finding one (which is one reason why the Route updates didn't come as often as I wanted).
Now that's all over with. I grabbed an AirPort card off eBay for a reasonable price, and took today to actually install the thing.
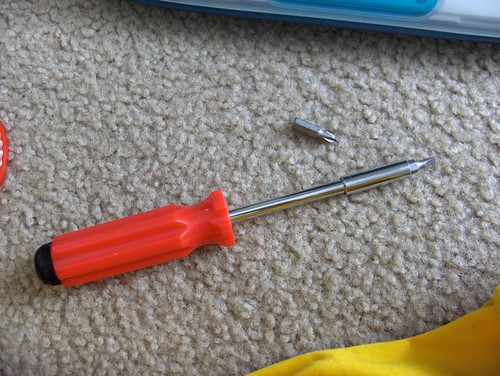
Thetools were simple: a flathead and Phillips screwdriver head, the smaller the better. Also, I grabbed instructions of the Apple.com support site.
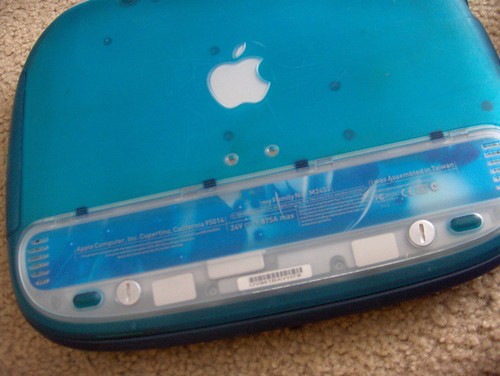
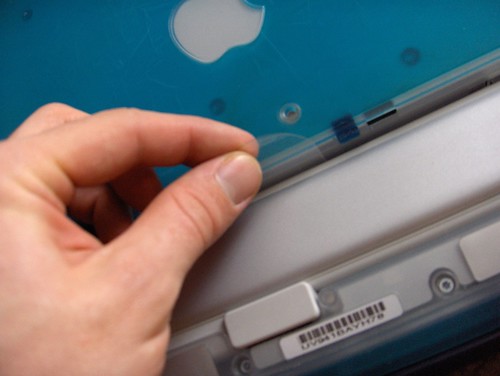
The first step was to remove the battery. No sense in getting shocked. On modern Apple laptops, the battery is super easy to remove. Turn the thing over...
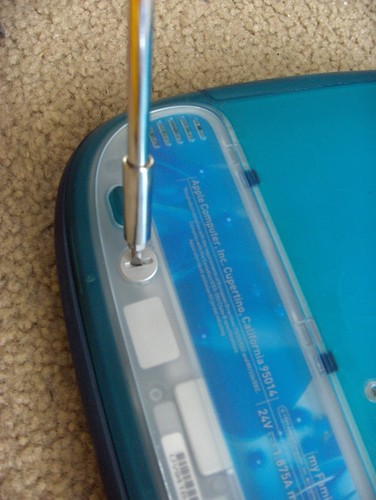
The two giant silver screws take one-half twist to remove. Take the cover off, and grab the plastic handle attached to the battery:
The battery slides right out. Mine looks like it was a replacement model from 2004, but already it looses charge faster than it should. Looks like I'll have to shop for a new one.

Now that the risk of electric shock is gone, time to get some real work done.
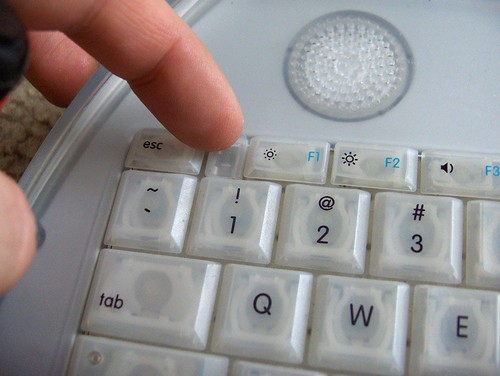
Toget to the iBook's guts, you have to take the keyboard off. Simple enough: slide the latches toward you, and the keyboard slides right out:
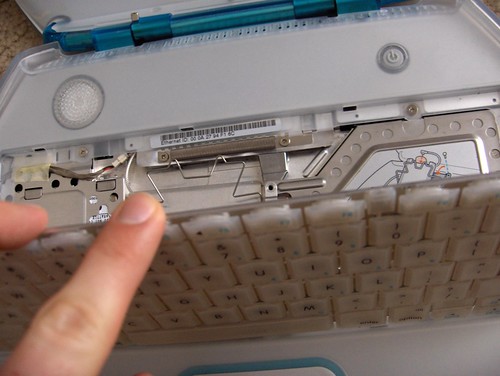
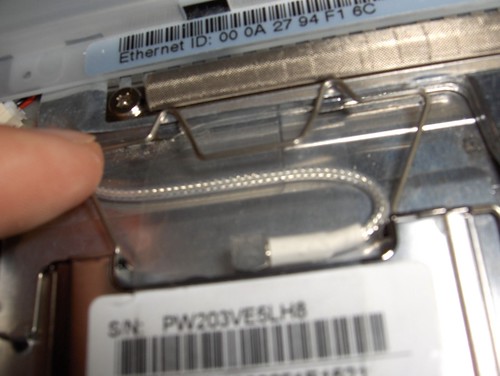
It'sa good thing I only want to install the AirPort card, because replacing anything else (like the hard drive, for instance) would be a nightmare. There are screws everywhere. Luckily, the AirPort holster was held in place by only one screw, which means someone had already installed one and taken it out (the previous owner, probably). Anyway, unscrew however many screws there are:
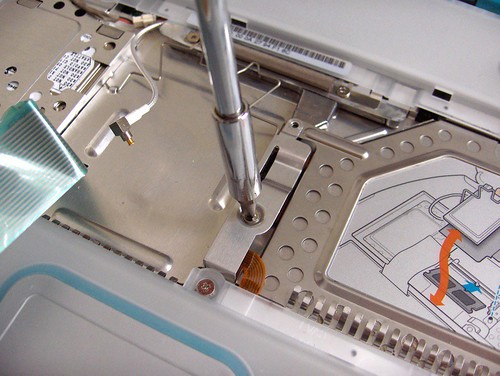
And slide the holster right out:

The wireless antenna was easy to find - it was the only cord not attached to something. It plugs right into the top of the AirPort card:

Getting the card into the holster was tricky, because it doesn't really hold the AirPort card in place. Instead, the card slides into the top of the palm rest, right above the trackpad:

Then the antenna requires that you loop it around the top of the card, so everything lays flat:

Booya - an installed wireless card. One screw to lock the holster in place, put the keyboard back on, lock the keyboard latches, and turn the puppy on.
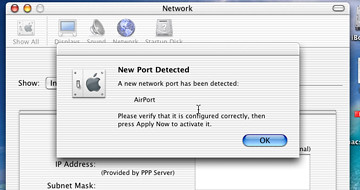
Apple makes it super easy to set up the software side of things. Under "System Preferences" and "Network," OS X automatically detects the new card. Just tell it what your wireless station is called (mine is called, simple, "AirPort" because I have an Extreme Base Station).

Recognizing my base station was no problem, but when I put in the password, it wouldn't connect. After doing some research, I found I had to scale back the security because this AirPort was an older version - 802.11b.
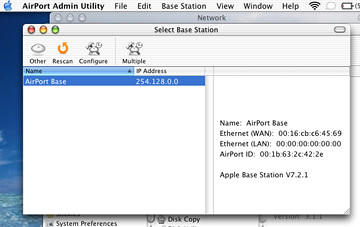
After that, bam - everything ran smoothly. The AirPort card recognized my wireless station (as well as all my neighbors) and connected at full power.
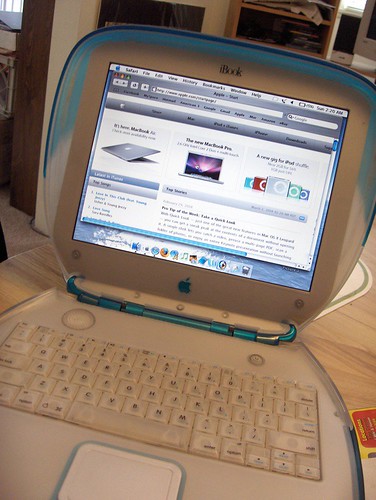
And look at that. No wires. Full-speed internet. It zipped right along, and the only thing holding back loading time was the speed of the computer (it's 300 Mhz - pretty slow by today's standards).
But it works, and it took me about 15 minutes to set up. Now when I take my road-worthy iBook to New England, I can connect any way I want.
Now if I was only brave enough to update the RAM in this screw-heavy beast...


No comments:
Post a Comment